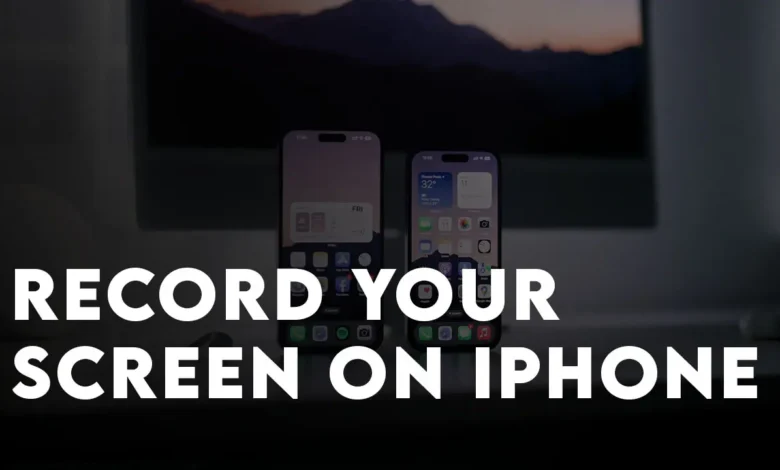
Although iPhones are leading the smartphone market, some of their features are hidden in the settings and need to be manually found and activated. For instance, recording the iPhone screen is a good example of such a feature. It’s worth noting that there’s no need to use any third-party applications for this task. Allow me to provide a brief explanation of how to record your screen on an iPhone or iPad, and then we’ll move on to the step-by-step process.
As mentioned earlier, the screen recording feature is hidden within the settings. Therefore, the first step is to customize the control and add the screen recording feature from the settings. Once it’s added to the control center, you can tap on its icon to start recording your screen. Before beginning the recording, you’ll be given the option to record your voice. This means that you can configure the microphone settings as desired. Once you’re done, simply click on Stop Recording and it will be saved in the Photos app.
Steps to Easily Record Your Screen on iPhone
- Open the settings app on your iPhone 14, 13 or older versions.
- Find Control Center and tap on it.
- Following that, Find the Screen Recording by scrolling down then tap on “+” icon located to its left. It is going to add the Screen Recording in the Included Controls section.
- After that, press the Home button on your iPhone than open swipe up or down to open the control center.
- Hold your finger on the Record button> following that tap on Microphone icon for recording audio too.
- Anyway, tap on start recording once you are doing with setting up the Microphone. Once you tapped start recording a 3 seconds countdown will appear which means you are good to go.
- Also, if you want to stop the screen recording, tap on the red status bar at the top left corner, than select stop recording.


Note:
1. iPhone's native screen recorder saves recordings in the Photos app by default but you can broadcast the screen recordings with other supported apps such as Facebook, Discord, Messenger, Telegram etc.

2. It is better to enable Focus/Do Not Disturb or Airplane mode while recording your screen because it captures everything including the notifications.
Watch its video
Record Your iPhone Screen using Siri Command
You can also use the voice assistant called Siri to Record Your Screen on iPhone. But your iPhone must be running iOS 16.5 because older versions of iOS is not capable of Siri command for recording your screen. Currently, iOS 16.5 is in beta and it will be released soon.
Step to record Your iPhone Screen using Siri Command:
- Hey Siri, start recording or start recording my screen.
- After that a 3 seconds count down will begin.
- To stop the recording, say Hey Siri, stop recording.
FAQ
1. How long can I record my iPhone screen?
You can record your iPhone screen for as long as you want, but keep in mind that longer recordings will result in larger file sizes. To conserve storage space, consider recording only the necessary parts of your screen.
2. Can I record my iPhone screen with sound?
Yes, you can record your iPhone screen with sound by enabling the microphone recording option in the screen recording settings.
3. Can I edit my screen recording on my iPhone?
Yes, you can edit your screen recording on your iPhone using the Photos app or third-party video editing apps.
4. Can I share my screen recording with others?
Yes, you can share your screen recording with others via email, text message, or social media. Make sure to compress the video file if necessary to reduce the file size.
5. Is there a limit to the number of screen recordings I can make on my iPhone?
No, there is no limit to the number of screen recordings you can make on your iPhone. However, keep in mind that larger recordings will take up more storage space.